
3D printer filaments not adhering well enough to the build surface is a common problem in 3D printing, but filament sticking too well is a lesser-known issue many of us makers have faced.
While not quite as common as low adhesion or warping, prints sticking excessively to your print bed is still a problem. If you’ve experienced this yourself, you’ll know exactly how annoying it can be to forcibly rip your model from the build plate only to find out a chunk of it left stuck to the bottom.
In this article, we’ll cover every reason your filament could be sticking too well, as well as how to fix every cause and issue.
3D Print Sticking Too Well To Bed
Causes and How To Fix Them
- Nozzle Too Close to Print Bed
- Bed Temperature Too High
- Wrong Bed Adhesive
- Wrong Bed Surface
- Wrong Extrusion Multiplier Settings
Tips To Reduce Bed Adhesion
3D Prints Sticking Too Well: Why is This an Issue?
On the surface, it may sound like models sticking extremely well is a good thing. Low adhesion leads to warping and misshaping, so taking steps to improve this is great, right?
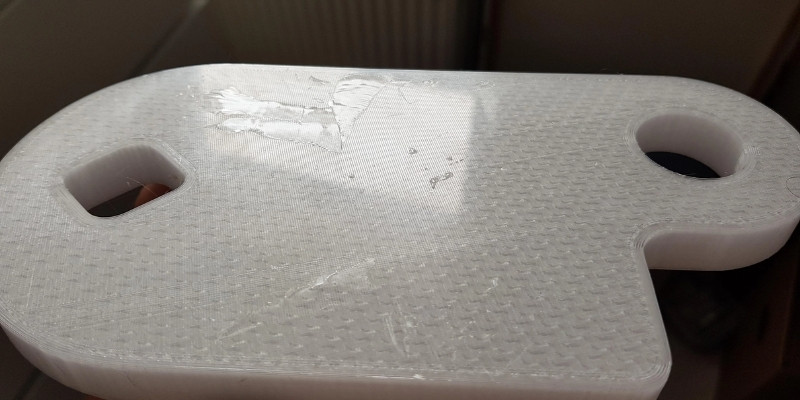
However, there is a downside on the other end of the scale too. The main issue with prints sticking too well to your printer’s build surface is they can be very difficult to pry off without damaging either the model or the build plate.
Think of it like using duct tape on wallpaper, an adhesive too strong will make it almost impossible to remove without ripping or breaking something.
Even if you find you can use a scraping tool to eventually pry the model off without damaging, it’s very frustrating and even dangerous if you need to use more force than necessary.
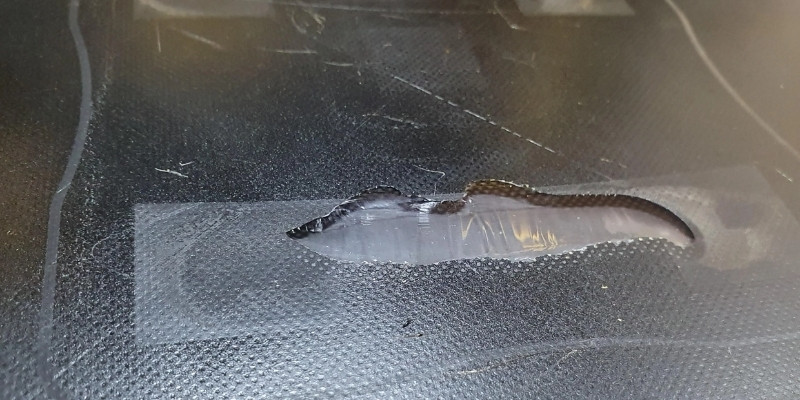
Damaging a model you’ve worked hard on and waited for is incredibly annoying, and even worse, damaging your build plate by forcefully removing overly-stuck prints can lead to serious, even expensive problems.
PETG in particular is strong enough to rip chunks out of glass beds if it bonds too well with the build surface. So lowering bed adhesion is very important if you want to avoid costly repairs and replacements.
3D Prints Sticking Too Well: Common Causes and How to Fix Them
Nozzle Too Close to Print Bed
Many 3D printer problems come from improperly set nozzle distances. If your nozzle is too far from the build plate, you’ll notice gaps between your layers that will make your model too unstable to print.
If your nozzle is too close to the build plate, it can create a wider variety of issues, including:
- Printer line coming out thinner than desired, even to the point of becoming transparent
- Excess filament is squished upwards at the edges of the current printing line creating wavy patterns and a rough-to-the-touch surface
- Filament may build up in the nozzle itself, leading to frequent clogs, excess extruding which will misshape your prints, and filament getting stuck to the nozzle
- Filament tearing between layers
- Finished models are difficult to remove due to the initial layers being constricted to the point of over-sticking
- Filament ‘squishes’ around the outside layers, leading to a melting effect
Your nozzle being set too close to the bed may be the reason your prints’ initial layers are adhering too well to the built plate.
How to fix:
This issue is easily fixed by adjusting the nozzle to bed distance. You can do this either by tightening the 3 or 4 leveling screws of your printer and using thicker paper stock for manual bed leveling. You can also simply adjust your printer’s z-offset value by using a bed leveling sensor.
If setting manually, make sure you’re not pressing down on your bed when leveling it, as this will lead to inaccurate measurements and the nozzle may still be too close when you begin printing.
Bed Temperature Too High
Heated print beds are excellent for increasing model adhesion, but they can work too well if set to overly high temperatures.
If your filament cools too quickly, it won’t adhere properly to the build plate and not stick well enough. On the other end, if your filament is exposed to too much heat then it won’t set fast enough and stick far too well.
In essence, the higher the bed temperature, the better the bed adhesion, so a too-hot build plate will cause your print to over-adhere and become very difficult to remove.
How to fix
Much like how gradually changing your nozzle height until you find the settings that work for you, you can decrease the bed temperature in 5°C increments until you find the perfect temperature.
The ideal temperature will be different depending on the kind of filament you’re using. When in doubt, always check the recommended settings for your filament from the manufacturer.
If you’re still unsure, then you can follow these general settings for optimum adhesion:
- PLA or TPU: 40 – 60°C
- PETG: 70 – 90°C
- ABS: 80 – 110°C
Note: If you’re using the ideal nozzle height and bed temperature but still find your prints stick too well, then it could be a problem with your nozzle temperature. If so, you can also reduce this in small increments until the adhesion is ideal.
Generally, the ideal nozzle temperatures are:
- PLA: 180 – 220°C
- TPU: 190 – 230°C
- PETG: 230 – 260°C
- ABS: 210 – 260°C
Wrong Bed Adhesive
Much like how too much of any one ingredient can ruin a good meal, using too much bed adhesive will cause your prints to stick too well to the surface.
If you’re using a naturally adhesive filament like PETG, then it’s unlikely you’ll need to use any additional glues or sprays to hold your model in place.
Using too much adhesive material, or even any at all, unnecessarily, will over-adhere your prints to the build plate and make them very difficult to remove.
How to fix
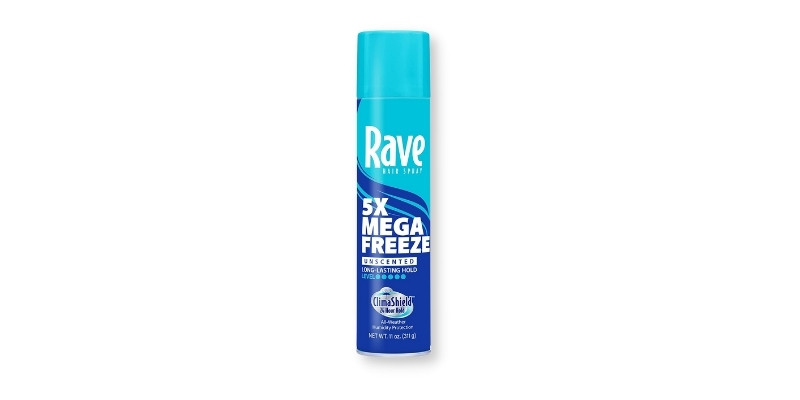
Simply reducing the strength of your adhesive material is a good fix to this issue. Replacing super glue with glue or even hairspray is a good way to aid bed adhesion without going too far.
If this is still too strong, then applying a thin layer of talcum or baby powder to your build surface is a good way to help adhere your print that won’t overdo itl.
Keep in mind that some filaments are even designed to naturally adhere to the bed without help, so be sure to check the information given by the manufacturer before applying any additional adhesives.
The best adhesives for each filament are:
- PLA: Glue or Acetone
- TPU: Flexible Superglue
- PETG: Epoxy
- ABS: Superglue or ABS slurry
For more 3D printer specific adhesives, turning to all-purpose glues like Magigoo is an excellent way to resolve overuse of potentially unsuitable holding agents.
Wrong Bed Surface
Different filaments have different ideal bed surfaces for optimum adhesion. If you’re using a build surface of a less-than-ideal material, you may run into adhesion problems on both ends of the scale, either sticking too well or not well enough.
It’s a good idea to make sure you’re using the best surface depending on your chosen filament, using these guidelines may help you decide which build surface you should be using:
- PLA: Textured surface with PEI
- ABS: Glass or PEI
- PETG: Heated glass or textured surface
- TPU: Heated glass
Read more: guide to the best 3D print build plate surfaces
Wrong Extrusion Multiplier Settings
If you’ve checked and tried all of the above settings but are still experiencing filament over-adhesion, then the problem could be with your extrusion multiplier.
The extrusion multiplier, or flow rate, settings are slicer settings that tell your printer how fast to feed filament into the extruder. If this setting is too fast and at too high a pressure, then too much filament will be heated and extruded at once, causing over-adhesion.
How to fix
Most slicing software will automatically have the extrusion multiplier set to 100% as standard. Decreasing this percentage will decrease the extrusion pressure and thus lower bed adhesion.
Note: Not all slicing software will use the same terminology for this setting. Some will refer to it as a ‘flow rate’, so be sure to double-check which setting you’ll need to fix if you can’t find it at a glance.
How To Reduce Bed Adhesion
There are a few more simple ways to reduce bed adhesion if you find the above steps haven’t helped. If you’re still running into issues, you can try one of the following fixes to reduce bed adhesion and make your prints easier to remove.
Use a Release Agent
Release agents add an additional layer between the build plate and the print. This layer is thin and makes prints easier to remove from the build surface.

By using simple PVA glue or a thin layer of hairspray as a release agent, you’ll find that they help with adhesion while printing but also make the prints easier to remove as they won’t be entirely stuck to the bed.
Flexible filaments are a little trickier. Generally speaking, the more flexible the filament, the better it will adhere. Using painter’s tape as a release agent and carefully removing this tape from your print and build plate is a great way to ensure good adhesion that won’t stick too well and cause additional problems.
Increase Print Speed
Lowering your print speed is a common solution to poor bed adhesion. Since increased printing speed reduces bed adhesion, then it could be a simple solution to your filament sticking problems.
Using settings on the higher end of those recommended by the manufacturer may help reduce bed adhesion and solve this issue in a simple, no-nonsense way.
Use a Flexible Print Bed
Some print beds are flexible to make print removal as easy as possible, often regardless of their bond. If applicable, you can use one of these beds to make even stubborn prints much easier to remove.
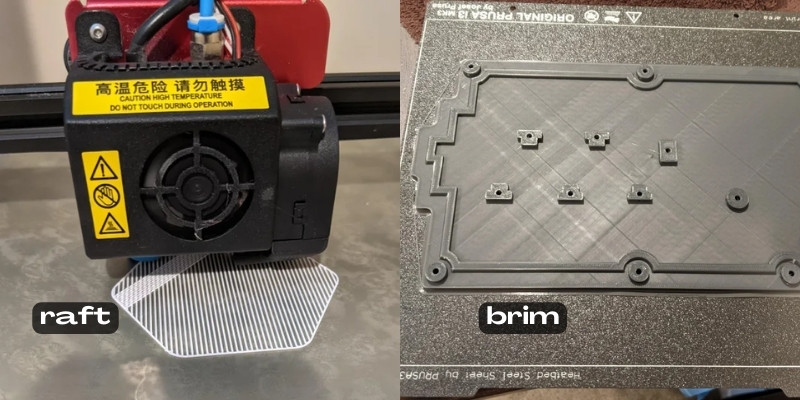
Use a Raft or Brim
Rafts in 3D printing involve adding an initial surface connected to the design itself on which the rest of the model is printed. This effectively creates an ad-hoc build surface of the same temperature and material as the model.
This means that, even if the adhesion is still too high, you won’t need to worry about damaging the bottom of your model if you need to use excessive force to remove it.
If you have a dual extruder, printing the raft with soft, water-soluble, or otherwise easier-to-remove filament than your main print is the best method to use.
Similarly, brims act as additional outer layers to the bottom of your model, giving you more leeway when prying it off if the over-adhesion isn’t too bad.
Read more: guide to 3D printing brims, skirts and rafts
How to Get Rid of Stuck Filament
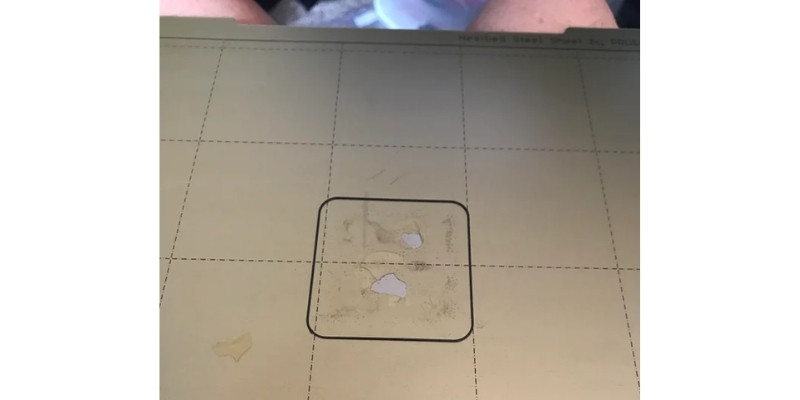
If you’ve run into the problem of over-adhesion, you may find your filament impossible to remove by normal means like scraping. If you’re having issues removing prints or excess, overly-stuck filament from your build surface, then you may want to try one of the following methods.
Removing Excess Filament
Heating
If you have stuck PLA, for example, then reheating the build plate will melt the filament and make it far easier to remove.
Just be sure that you don’t directly touch the build plate while it’s heated, and remove using a flat spatula or scraper very carefully so you don’t burn yourself.
Dental Floss

Tightly wrapping dental floss around the bottom of any stuck filament and sawing it back and forth is another good way to remove stubbornly stuck excess filaments from your build plate.
Dissolving
Dissolving excess filament using acetone, isopropyl alcohol, or even just a strong stream of cold water will loosen stuck filament from the bed and make it easier to remove with a scraper.
Removing Stuck Models
Freezing
Freezing the print and the print bed for a few hours hardens everything which makes it easier to remove. However, this can damage your build surface over time if done too often, so we only recommend using it sparingly and as a last resort.
To reduce the chances of your build plate being damaged, allow it to cool down completely before freezing it. If you can, refrigeration before freezing will gradually lower the temperature and make the process safer.
This is especially important if you’re using a glass surface, as quickly shifting temperatures can cause glass to crack and shatter.
Use Solvents
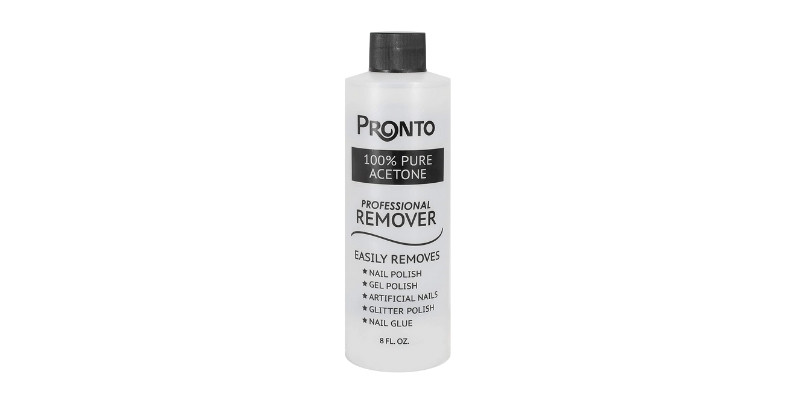
If you’ve used additional adhesives, then lightly applying solvents like glue thinner or nail polish remover to the bottom of your model will help it become unstuck.
If you use this method then be sure to clean your print bed thoroughly when you’re done so the solvents don’t remain and affect future prints.
Using the best solvent for whichever adhesive you’ve used is the best way to go about this, but be sure to use materials that won’t also warp your prints.
Related posts:
- Best Hairspray for 3D Printing
- 3D Print Not Sticking To Bed: All 11 Problems Fixed
- Prints Pillowing, 3D Printer Stringing and Layers Splitting – 3 Worst 3D Printer Problems Resolved
- 3D printer layer shifting


