
I’ve split my recommendations for the best 3D printers for miniatures into two sections:
- The best resin printers for printing the actual miniature models
- And FDM printers best for terrain printing
|
Super Budget Pick
|
Premium Resin Pick For Accurate Miniatures
|
FDM Printer For Terrain
|
|
|
|
|
|
4.5
|
4.8
|
4.6
|
|
163 x 103 x 180 mm
|
218 x 123 x 200 mm
|
220 x 220 x 250 mm
|
|
50mm/hr
|
105mm/h
|
500 mm/s
|
|
$209
|
$399
|
$399.00
|
Beyond the specs, we also explain the factors that actually make a difference to miniature print quality.
Quick Overview
| Name | Printer type | Build volume (mm) | How many minis per run? | XY Resolution | Price | Where to buy for best price? |
|---|---|---|---|---|---|---|
| Anycubic Photon M3 | Resin | 163 x 103 x 180 | Around 15 | 40μm | Around $200 | Anycubic here |
| Anycubic Photon Mono M5s | Resin | 218 x 123 x 200 mm | Around 28 | 19/24 μm | $399 | Anycubic here |
| Anycubic Photon M3 Max | Resin | 293 x 163 x 300 mm | Around 45 | 46 μm | $799 | Anycubic here |
| Ankermake M5C | FDM | 220 x 220 x 250 mm | – | 50-micron min layer height | $399 | AnkerMake here |
| Elegoo Neptune 4 Max | FDM | 420 x 420 x 480 mm | – | 100-micron min layer height | $470 | Elegoo here |
Best 3D Printers For Miniatures
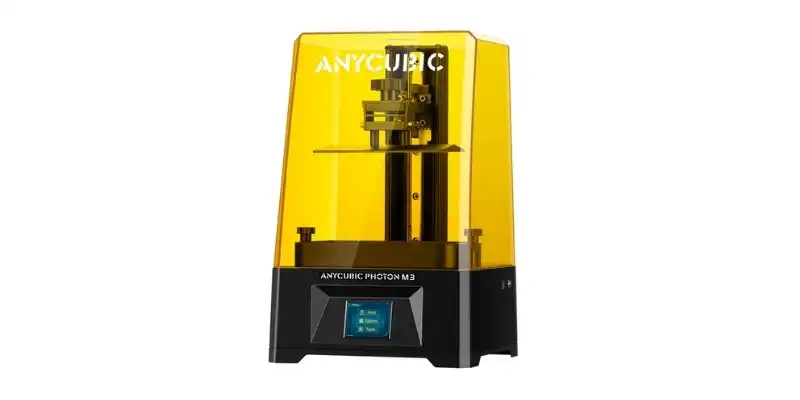
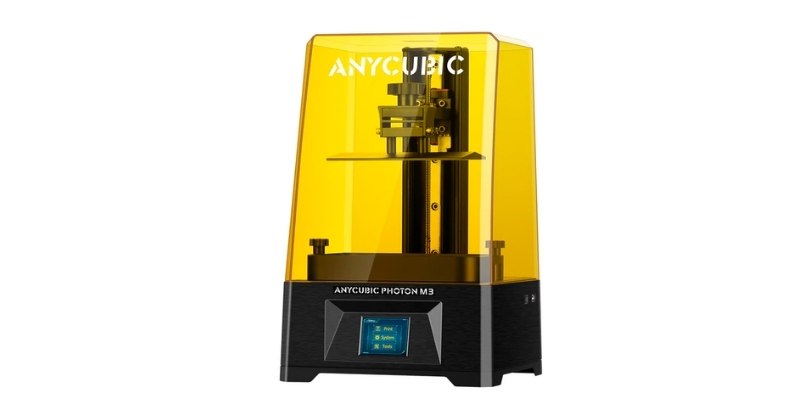
1. Anycubic Photon M3 – Best Budget Resin Printer For Minis
- Price: Check latest price at Anycubic here
- How many minis can you fit? Around 15
- Build Volume: 163 x 103 x 180 mm
- XY Resolution: 40 microns
- Minimum Layer Height: 10 microns
Reasons to buy:
Extremely affordable.
Perfect for larger miniatures – especially taller models.
Reasons not to buy:
Slightly lower resolution than the Mono 4K – but this is because of the larger screen and build volume on the Photon M3.
The newly released Anycubic Photon M3 hits its stride in miniature making by bundling in better specs at the same price as its predecessors, the Photon Mono and Mono 4K.
These enhancements are most pronounced with a larger 163 x 103 x 180 mm build volume. This might not seem like much on paper, but means the Anycubic Photon M3 can produce much larger single models or batch print more copies of the same in one sitting than the Mono 4K, let alone the original Mono.
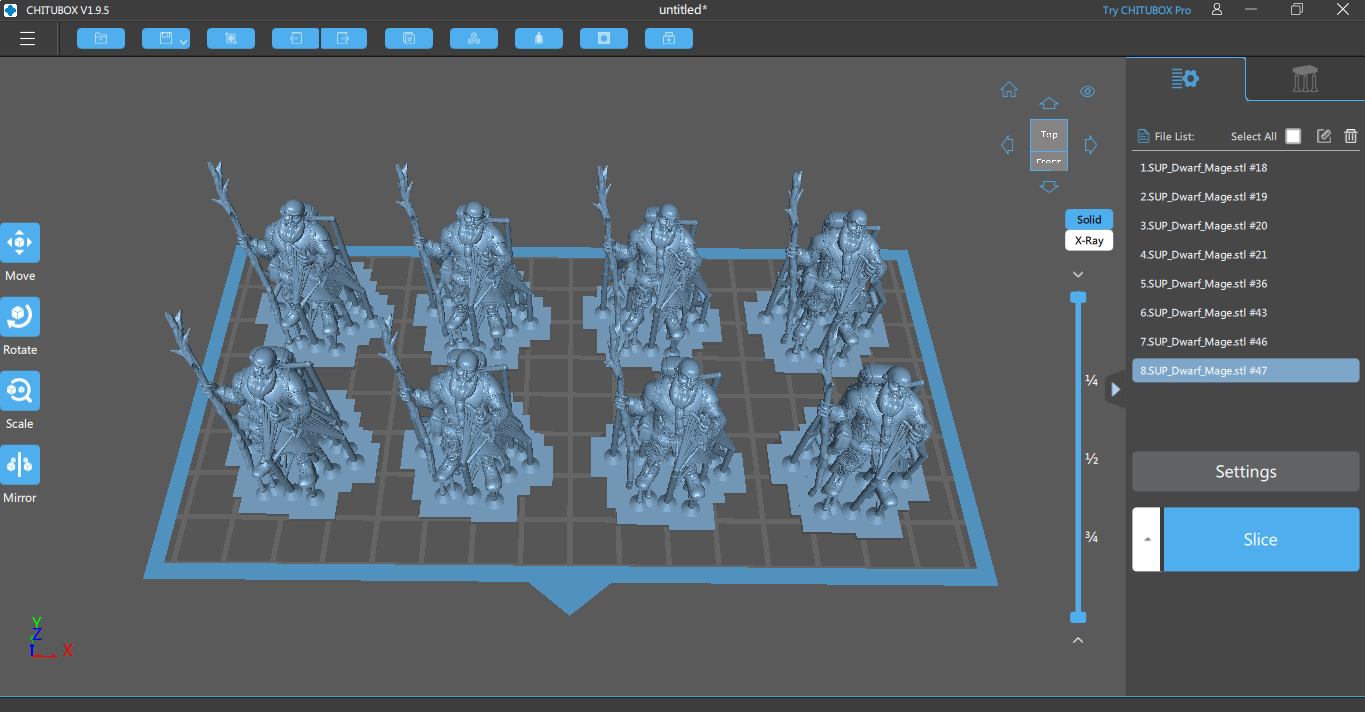
During my testing, I loaded up an example 28mm mini STL file and found you can fit around 15 minis on the build plate:
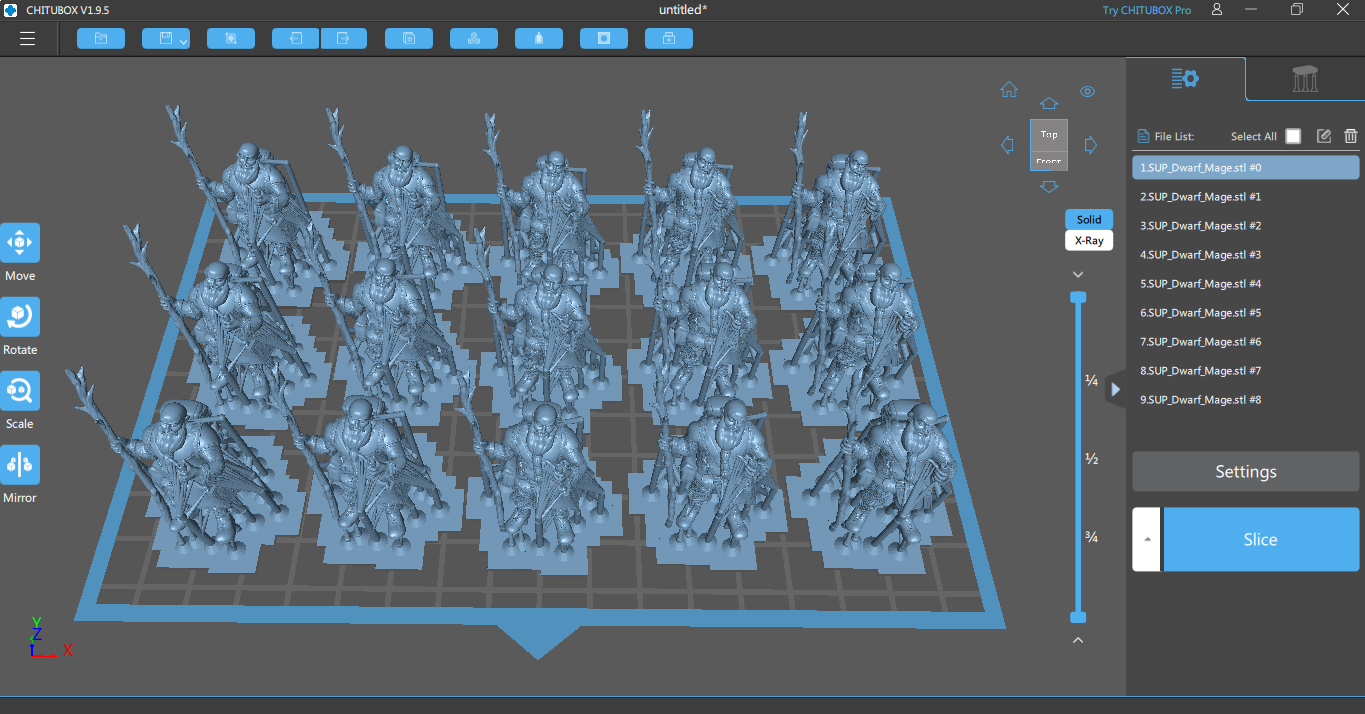
The extra z-height lends itself well to taller models, excellent if you’re working to produce large figurines for display purposes.
The Anycubic Photon M3 and Mono 4K both use a monochrome 4K LCD, but the Photon M3’s larger 7.6” screen handles the larger build volume. In numbers, this means a slight downgrade to a 40 micron XY resolution compared to the Mono 4 K’s 35 microns, but at these low numbers, the difference is indistinguishable to the naked eye, even for veteran miniature aficionados.
We still recommend the Photon M3 over the Mono 4K for the larger build volume – at this level, a 5-micron difference is not going to make a difference, even in the most precise of miniatures.
Against the standard Mono’s 2K LCD, there’s no competition: the Anycubic Photon M3 delivers far better fine details and features on even the most complex Warhammer and D&D figures. It does so fast as well, with a solid 50 mm/h print speed, which equates to roughly 30 minutes per 28 mm model.
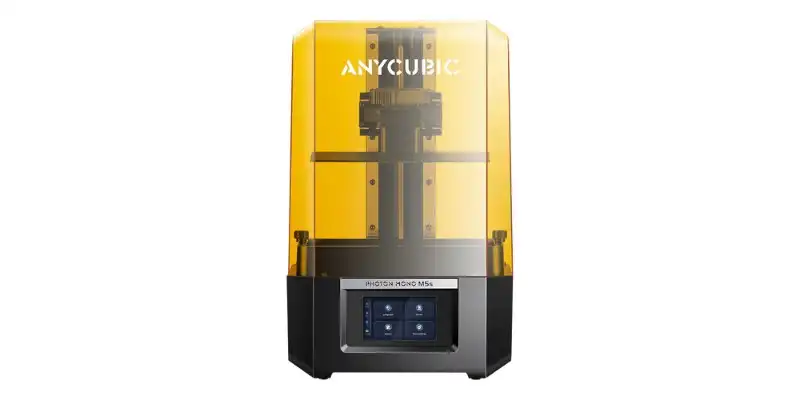
2. Anycubic Photon Mono M5s – Best Mid-Size Pick
- Price: Check price at Anycubic here
- Build Volume: 218 x 123 x 200 mm
- Speed: 105mm/h
Reasons to buy:
12K 11520x5120px resolution
Range of self-health and self-diagnostic tools
Well-sized build volume ideal for batch printing
Reasons not to buy:
High-speed resin needed to reach highest print speeds
The Anycubic Photon Mono M5s has a stacked range of built-in sensors and checks to keep everything working, so you spend more time enjoying successful prints than cleaning up failures …or scratching your head wondering what went wrong.
These features include print peel detection, hands-off bed leveling, a resin level sensor, and a self-check routine to pick up potential hardware issues.
Beyond that, the Anycubic Photon Mono M5s is the best mid-size resin printer right now in its price range. Nothing else competes with the thanks to the combination of a roomy 218 x 123 x 200 mm build volume, 12K resolution, and 19/24 micron XY resolution.
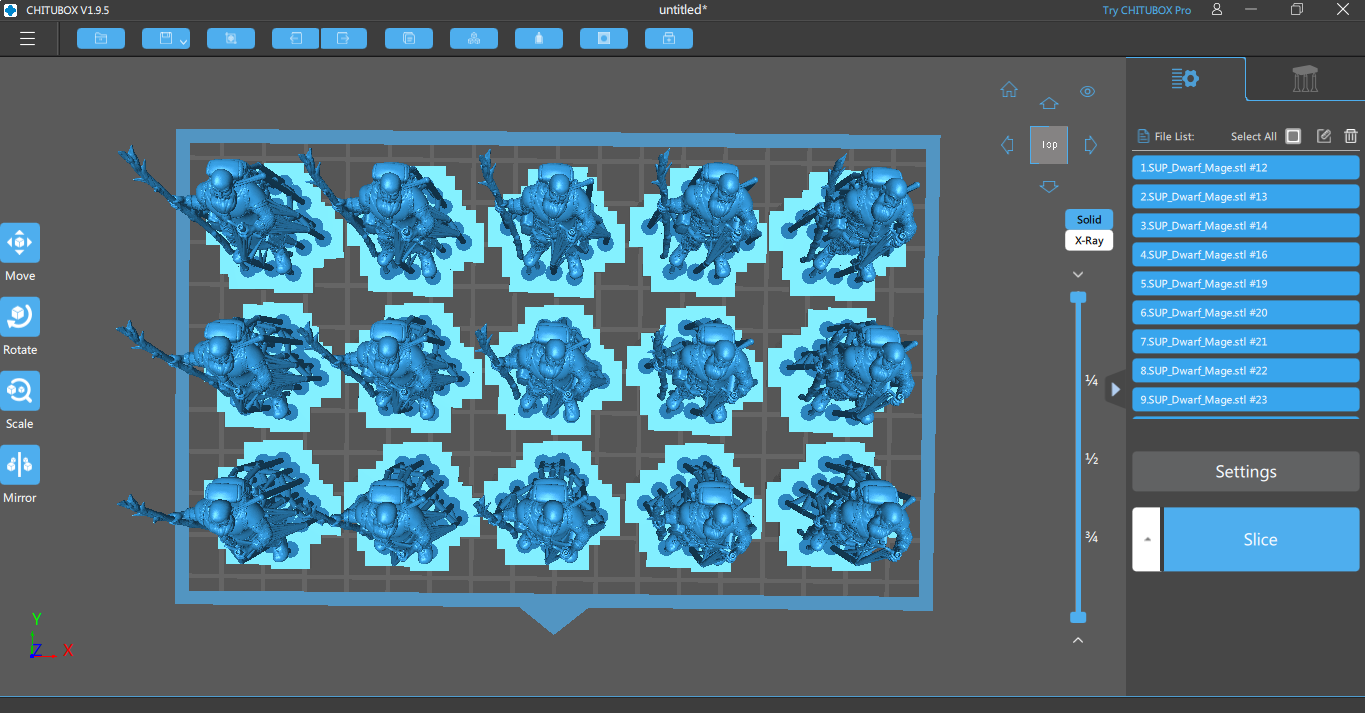
Whereas the Photon M3 fits around 15 miniatures on the build plate, I estimate around 28 minis can fit on the M5s build plate – as per my screenshot below:

If you don’t need the extra space then the Mars 4 or Photon M3 should be fine, but with this extra space (and resolution) you can print larger batches of miniatures… and they’ll come out with glistening detail and sharp features.
If you use high-speed resin, the M5s can even push print speeds up to 105 mm/s, vastly reducing print times while still maintaining print quality on your minis.
Though you’ll find a slightly large build volume on similar models like the Elegoo Saturn 2, the M5s beats the Saturn 2’s 29-micron XY resolution. Similarly, the Phrozen Sonic Mini 8K trumps the M5s with its 22-micron resolution, but that printer is capped at 8K prints and has a substantially smaller 165 x 72 x 180 mm build volume, so you’ll get less detailed miniatures and small batches.
Overall in my opinion, the Mono M5s is the best middle-ground printer in the mid-size range, and is perfect for large batches of minis, at high quality, at high speeds.
Alternative: Elegoo Mars 4 Ultra
I also recently tested the Elegoo Mars 4 Ultra, and it’s also really good and fast.
Here’s some minis I printed on it:
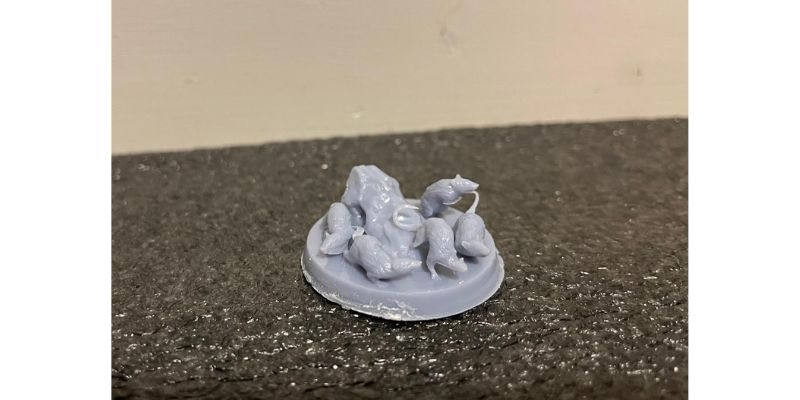
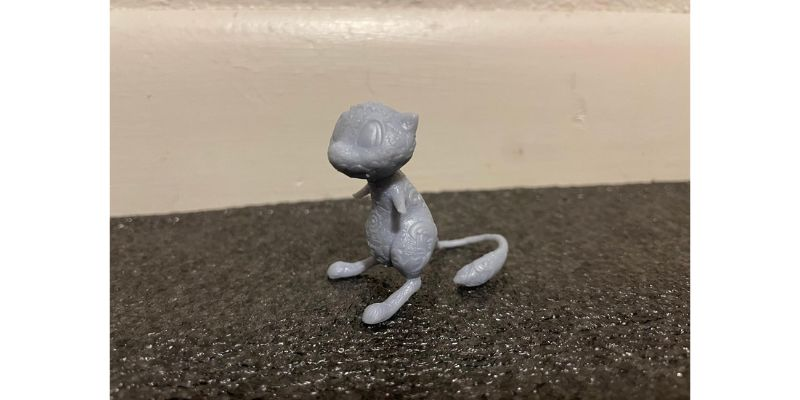
So, while I recommend the Anycubic highly, the Elegoo is also a great printer. If you look at the ornate Mew I printed at the bottom, it even printed the patterns on the surface really accurately — but my camera didn’t pick up all of these features so it’s hard to see.
However, it does have a smaller build volume, so if you do want to print larger numbers of miniatures, you are more restricted with the Mars 4 Ultra. You can only fit a maximum of around 8:
3. Anycubic Photon M3 Max – Best Large-Format Pick
- Price: Check price at Anycubic here / Amazon here
- Build Volume: 298 x 164 x 300 mm
- Speed: 60 mm/h
Reasons to buy:
Huge 293 x 163 x 300 mm build volume
Smart resin refill system
7K 6480x3600px resolution
Reasons not to buy:
Less detail than on smaller midsize printers
Expensive (2-3x more than desktop resin printers)
The Anycubic Photon M3 Max has a huge 293 x 163 x 300 mm build volume. At this size, you can print around 150 standard 28 mm miniatures in a single print session. Insane!
Despite the large build volume, the Photon M3 Max still pushes a 7K resolution that gives print intricate details and rich features. It may lag behind the 8K and even 12k printers out there, but the difference is largely imperceptible unless you pull out a magnifying glass.
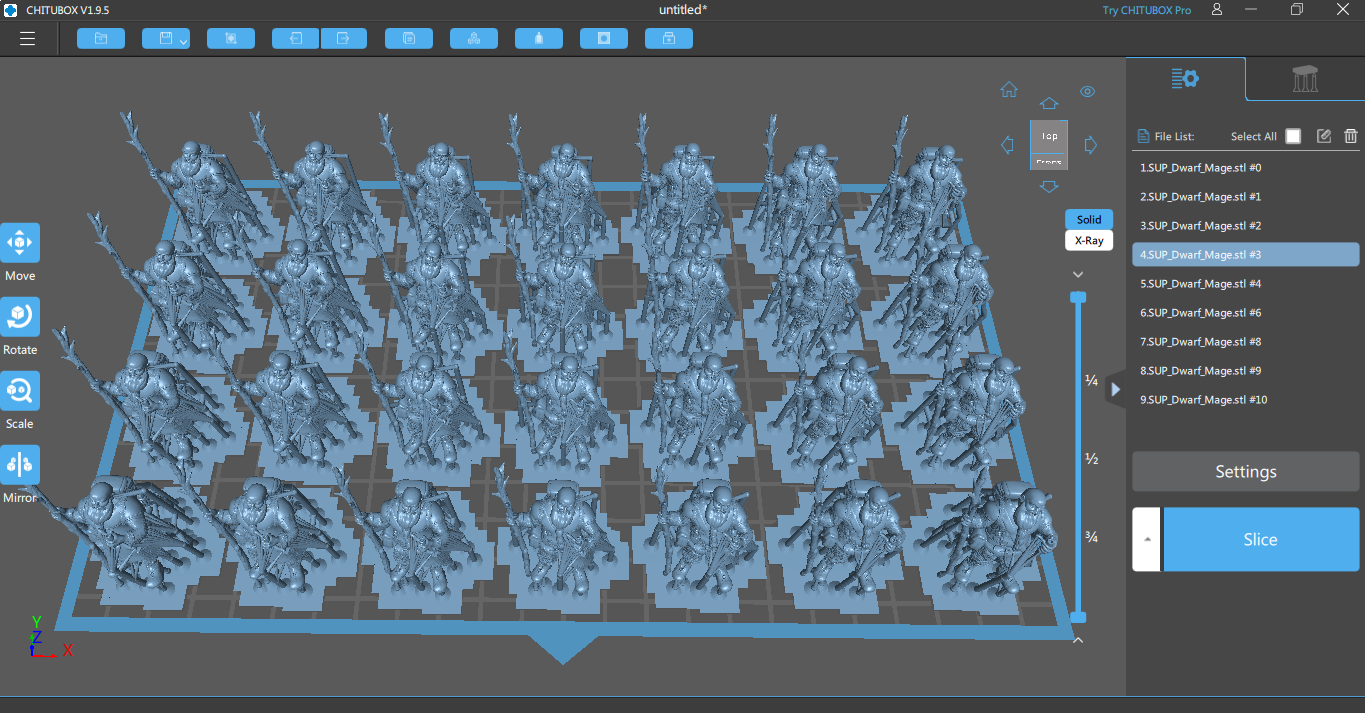
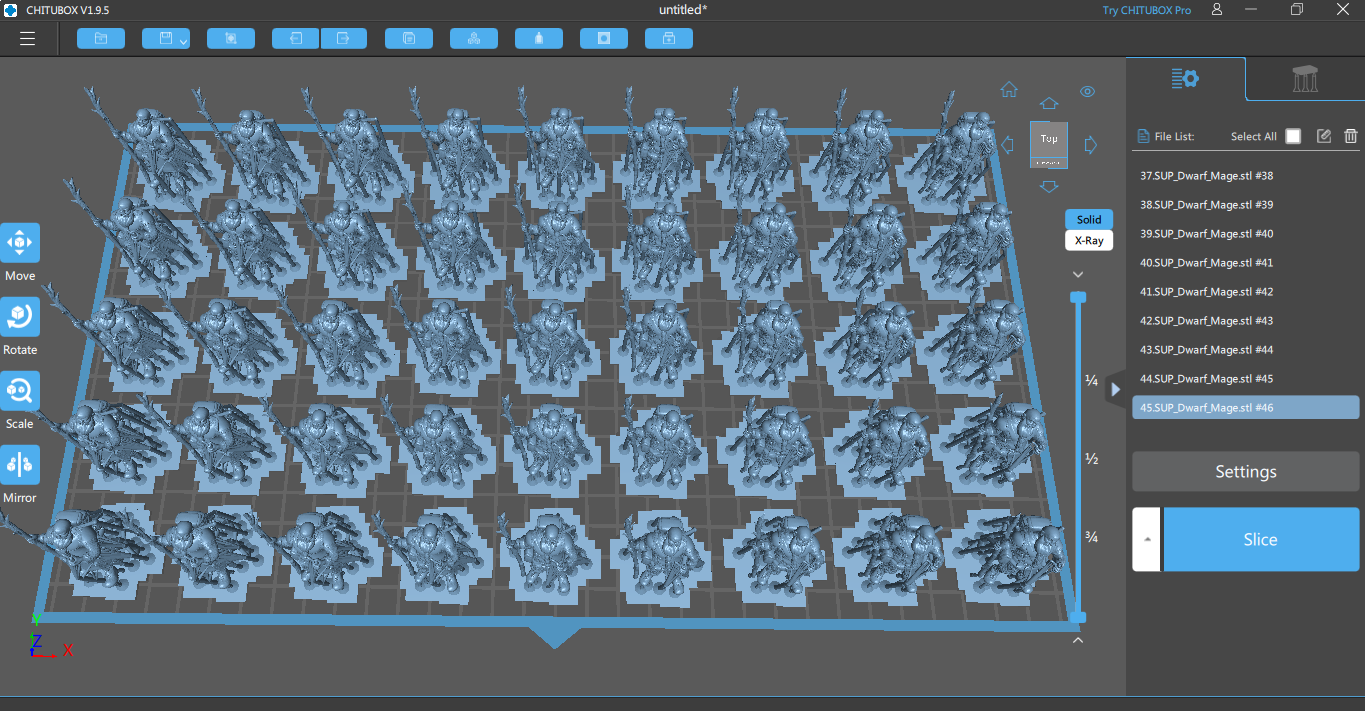
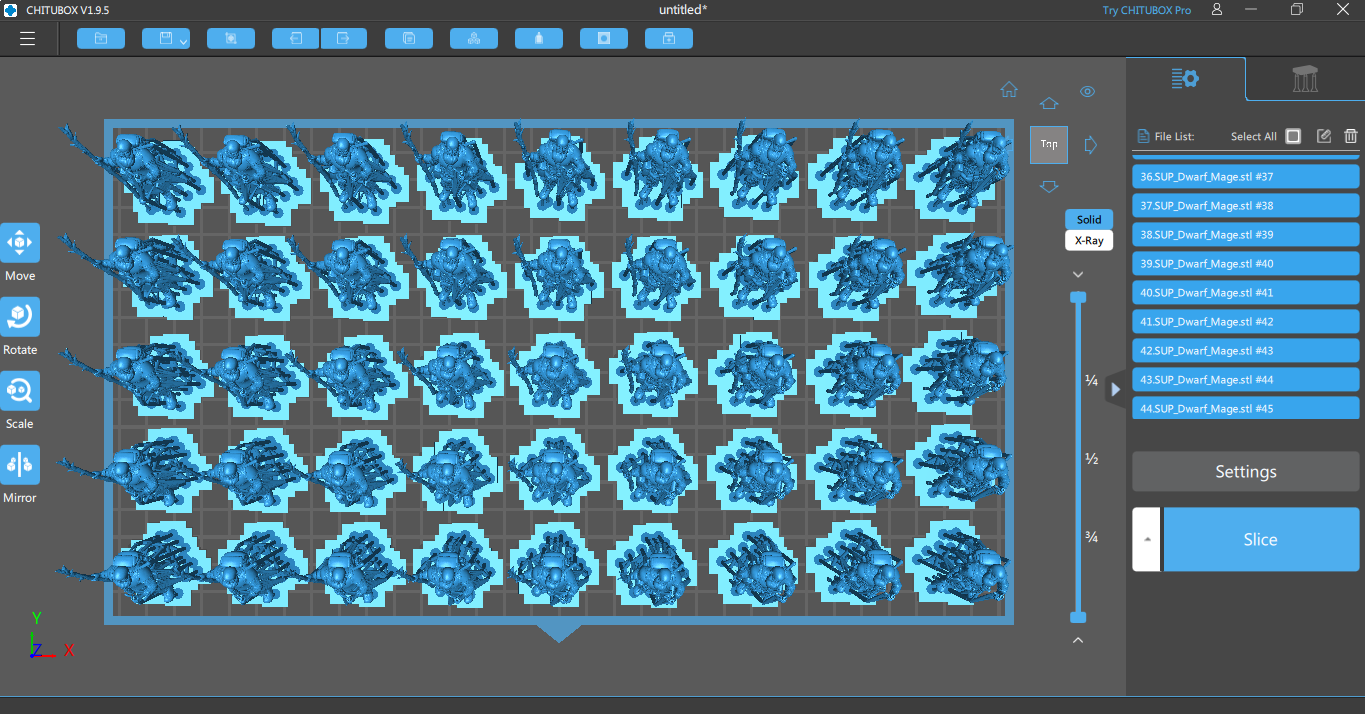
Whereas the M3 can print around 15 minis maximum, and the M5s can print around 28, I estimate from my testing that the M3 Max can print around 45 minis per run, as shown below:
The Anycubic Photon M3 Max also ships with a smart resin refilling system, which will automatically pull resin through purpose tubing from a bottle to the vat as needed. You’ll never have to interrupt a print halfway through to pour in fresh resin, saving you both time and wasted resin.
With print speeds up to 60 mm/h, the M3 Max is not that fast… but it’s not horrendously slow either. And with the size of the printer, you could in theory print 150 minis in around an hour if they were all small enough.
However, if you need faster speeds, I recommend the 105 mm/h speeds on the Anycubic Photon Mono M5s, and if you want better detail, go for the Phrozen Sonic Mini 8K. But, neither has anywhere near the size of the spacious M3 Max.
If you’re looking to kick start a for-profit miniature printing setup, the Anycubic Photon M3 Max is a reliable workhorse that can pump out hundreds of miniatures on daily. At over $800, it’s a lot more expensive than some cheaper desktop options, like the Photon M3, or Mars 3 and 4 printers.
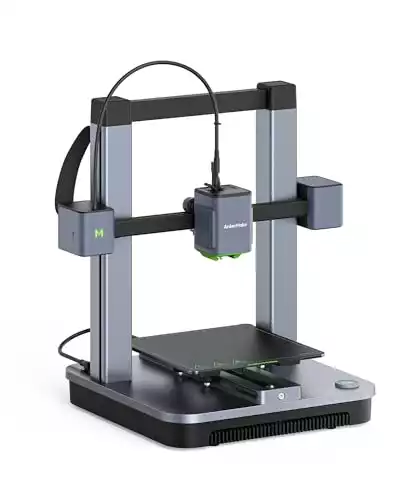
4. Ankermake M5C – Best Budget Printer For Terrain
- Price: Check price at AnkerMake here
- Build Volume: 220 x 220 x 250 mm
- Speed: 500 mm/s

Reasons to buy:
Really, really easy to use
Extremely fast 500 mm/s print speeds, while maintaining good print quality
Reasons not to buy:
Not the biggest build volume, so not all large terrain can be printed in a single piece
I’ve reviewed the Ankermake M5C, and it’s the most pleasant and easy-to-use consumer printer I’ve used recently.
The route from a sliced model to a glistening, fresh-off-the-bed piece of terrain is as easy as it gets thanks to a pre-configured purging routine, simplified printing presets, automatic bed leveling, a direct drive extruder to reduce clogging, a one-click on-printer button to launch prints, and one of the most intuitive 3D printer apps I’ve used.
It’s also super fast. It prints up to 500 mm/s with only a minor loss of quality, which won’t matter that much for rough and ready terrain anyway! They come out looking great… and more importantly, fast, so you can get to testing them out on your tabletop sooner.
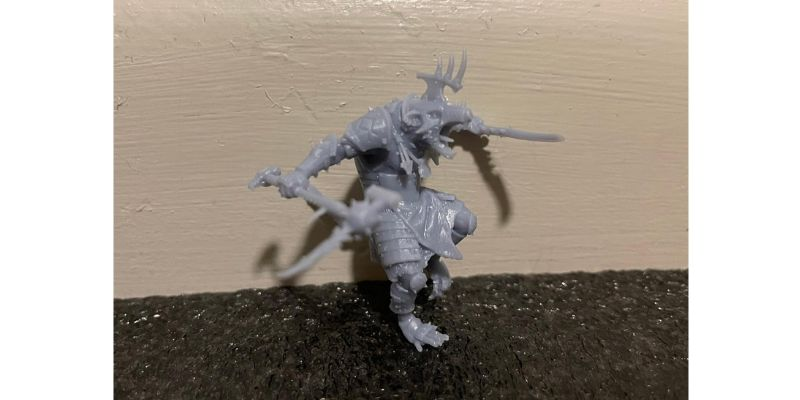
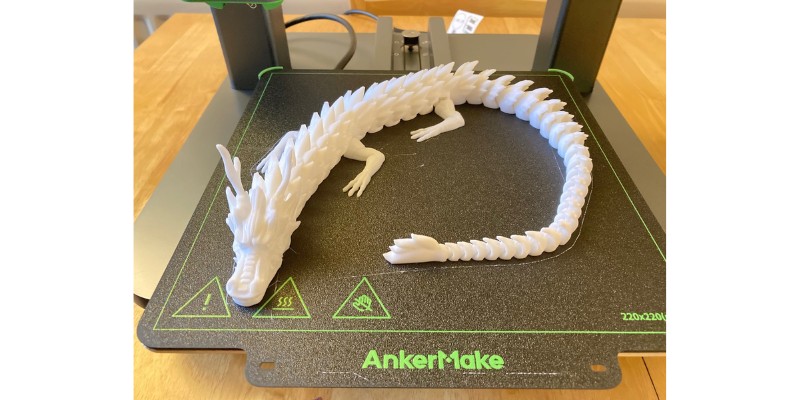
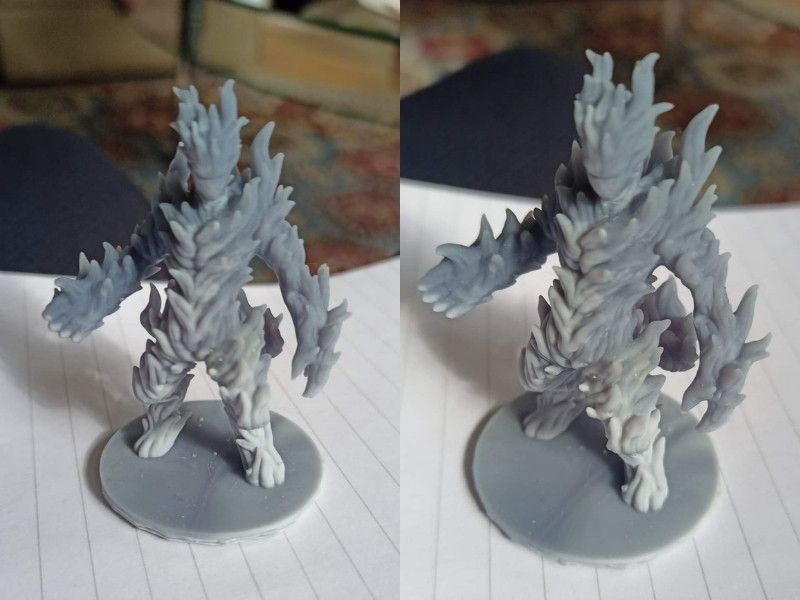
It’s capable of surprisingly good detail, too, honestly I was surprised!! While I’m recommending it for terrain… look at how good the skeleton creator mini I printed below is:
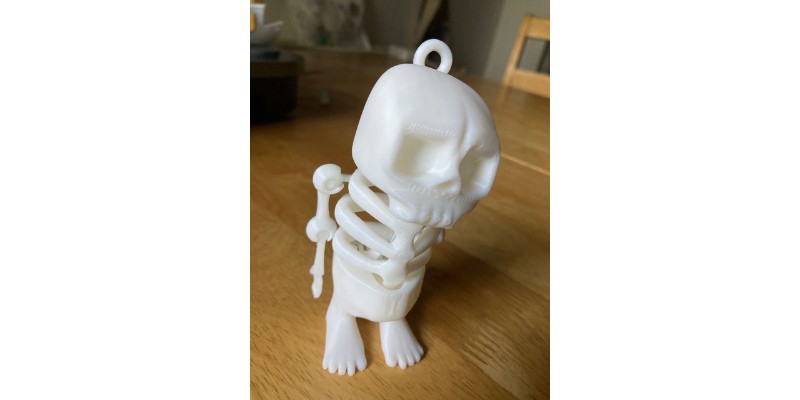
For an FDM print, that’s pretty amazing!
The Ankermake M5C has a pretty standard 220 x 220 x 250 mm build volume, which should be enough to print most terrain and backdrops like ruins, mid-sized dungeons, interiors, and even modest structures.
But if you want to print anything larger, either get a larger build volume printer (I recommend the Neptune 4 Max below), or just print in parts and glue them together.
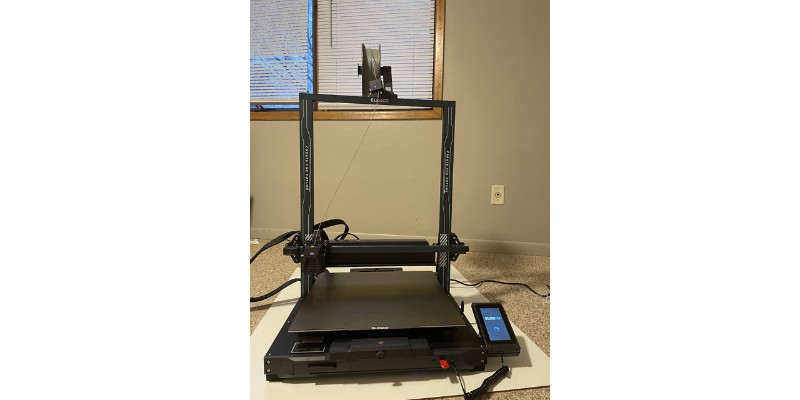
5. Elegoo Neptune 4 Max – Best Large-Format Printer For Terrain
- Price: Check price at Elegoo here / Amazon here
- Build Volume: 420 x 420 x 480 mm
- Speed: 500 mm/s
Reasons to buy:
Huge build volume perfect for large terrain projects
Super fast 500 mm/s print speeds for printing larger terrain quicker
High-temperature nozzle suitable for high-temp filaments
Reasons not to buy:
Requires some tinkering to get the best results (so not as suitable for beginners)
The Elegoo Neptune 4 Max is a perfect fit if you’re a tabletop enthusiast that wants a reliable FDM printer to bring large-scale terrain to life.
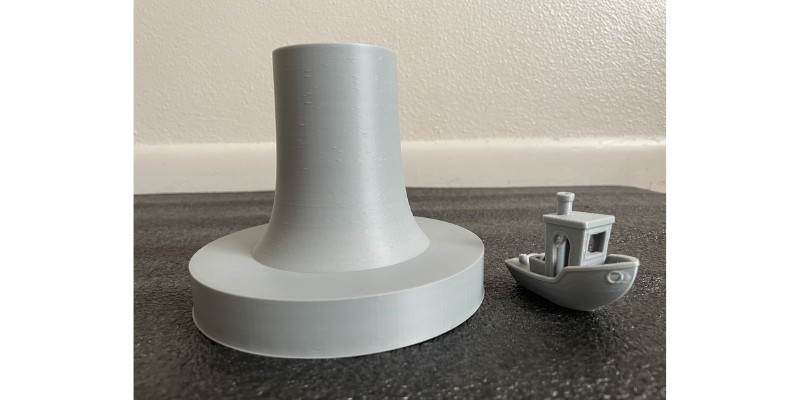
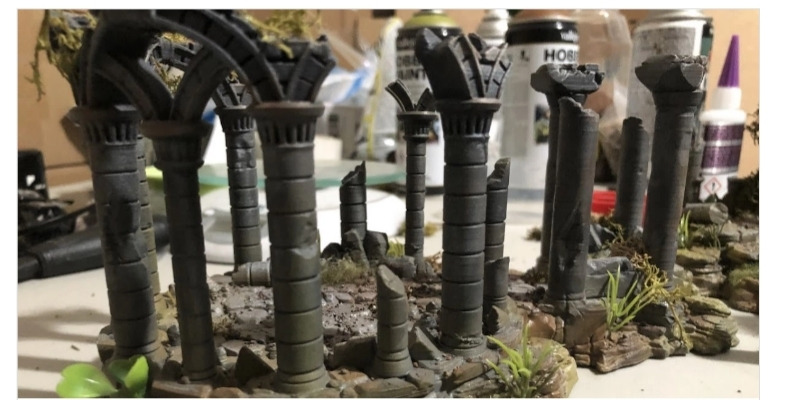
The huge 420 x 420 x 480 mm build volume is enough to print entire structures like towers and cathedrals or even large trees and rock formations. You can also print smaller pieces within the same job as medium-sized terrain prints…you have so much space!!
The nice part also is that you don’t need to print multiple pieces and then attach them – it’s fine to do this, but it’s extra time, and the glues together pieces can be weaker than if they were just printed in one part.
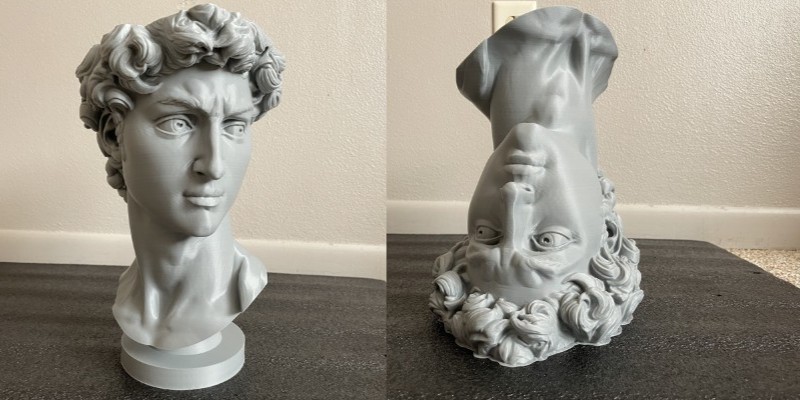
For example, this is a large statue model I printed in one large piece, which is larger than most terrain I’d ever need to print, and it came out really well!
The Neptune 4 Max is also quick thanks to Klipper-powered fast 500 mm/s print speeds. You’ll print more and in less time compared to the previous generation of FDM printers that hover around 80-100 mm/s, so you can print larger terrain much quicker.
Alongside, it has automatic bed leveling, a 300°C nozzle for more exotic filaments like Nylon, Wi-Fi connectivity for control and monitoring, and a dual-gear direct drive extruder to handle flexibles like TPU, but also cut down on clogging and other nasty extrusion issues.
During my review of the Elegoo Neptune 4 Max, my only real gripe was how the machine does require a bit of tinkering to truly shine, but this is more a question of polishing up imperfect prints than remedying all-out print failures.
The Neptune 4 Max has what it takes to produce highly detailed terrain, you just need to have patience and be willing to put in the time to tweak and refine.
Important Specs & Factors To Consider When Buying
Layer Height
The smaller the layer height you choose for your models, the better the quality, and the less visible the layer lines will be.
However, the lower the layer height, the more layers you’ll have in your model, which increases the time it takes to print, and also increases the chance of a failed print.
I advise that you don’t need to go all the way down to 0.01mm on your resin 3D printer with miniatures – 0.03-0.04mm is a good range for great quality.
The Truth About 4K, 8K, or 12K+ Screens
4K is fine honestly, and even 2K isn’t super noticeable compared with an 8K print except on details like hair and beards, or hands and fingers on your models. If you have the money, go for an 8K printer – but it isn’t a necessity.
Corners will look a bit sharper, and certain facial features and muscle definitions will come out better generally, but you can still create very good models on 4K resin printers.
However, do not look solely at the specs when determining if a printer is high quality.
A 2K screen with a printer made from high-quality build plate bolts and resin vat locks (that can handle low layer heights, retain accuracy, and aren’t prone to threading) will produce better miniature models than a shoddily built 4K printer.
I recommend buying from a high-quality brand like Anycubic, Elegoo or Phrozen.
How Speed and Size Works with a Resin Printer
Resin printers work differently from FDM printers. Instead of printing one part at a time as an FDM printer’s extruder traces the layer, LCD printers flash an entire layer at once, so whether you load up 10 STL files or just 1, they’ll print in the same amount of time.
So, the only factor that determines how long a resin print job will take is the height of the tallest model.
This makes the build size of a resin printer important, as the more models you can pack into the area, the more models you can print in the same amount of time. Large 3D printers can print potentially 20+ miniatures at once – though most hobbyist printers can print around 3-4 reasonably sized miniature models.
Why 3D Print Your Own Miniatures?
With a 3D printer, you can print anything you want – you’re. notlimited by what’s in the catalogs! And, you can print your own minis for under a dollar each in resin cost, rather than sometimes $10+ per model!
In fact, I’ve written a deeper dive into D&D miniature and Warhammer prices and built my own calculator you can use to estimate miniature printing costs and how many minis until you earn back the cost of a 3D printer.
Some designers publish their miniature files online for free (I’ve listed the best places later on), but even premium models are extremely cheap – often just a few dollars.

Things to Remember When 3D Printing Resin Miniatures
- Resin is toxic and irritant – never touch it directly, and if you do, wash your hands thoroughly with soap and water. Wear a mask to avoid the fumes, generally try to avoid the room when printing, and if possible put the printer near ventilation.
- There is post-processing involved after printing – you’ll need to scrape the resin prints off the build plate, remove the supports (wear gloves), wash the resin off of the prints with isopropyl alcohol, dry them, and cure them in UV light. Then, optionally you can fix any imperfections, prime and paint them for your custom look. We recommend buying your brand’s wash and cure station to save you time and hassle.
- You will need to replace parts – the two main culprits are FEP films, and screens, which will need to be replaced over time. This puts you out of action for a while, and costs money. We’ve also calculated whether 3D printing miniatures is cheaper (I calculated the exact cost for FDM and resin printing miniatures).
Why Not To Use FDM For 3D Printing Miniatures (But You Should For Terrain)
While FDM 3D printers typically have larger print areas, and the filament is cheaper than resin and non-toxic, you can’t get anywhere near the same level of detail. And minuscule details are the key to amazing-looking miniatures.
To put it into perspective, if you saw an FDM-printed miniature in a shop, you probably wouldn’t buy it.
But, you can print the larger, rougher terrain parts with an FDM printer, such as backgrounds, and accessories like towers, bridges, and other cool add-ons.
Best Practices for FDM 3D Printing Miniatures
- Nozzle size: using a small nozzle makes for better precision on printers, and though they print slower, this isn’t a big problem when printing small models that do not take long anyway.
- Slow printing speed settings: if you have the fastest 3D printer around, such as a delta 3D printer, you should slow it down when printing small, precise models. You may want to reduce speed to as low as 20-30mm/s.
- Infill percentage: you may want to change this based on how strong you want your miniatures to be. If you want to save on material costs and don’t mind giving up some part strength, you can reduce infill to 10%, though some hobbyists who want solid models may go for a higher infill percentage.
- Retraction settings: optimize retraction settings to prevent oozing and stringing of filament, which can occur especially often with PLA.
- Post-processing: not directly related to your printer, but you can decide whether to paint your model, sand or polish it to enhance its finish.
However, we still recommend resin over FDM for miniature printing. You can read a more in-depth comparison in our article comparing FDM and resin 3D printing for miniatures.
Sites To Download Minis Files
Here are some sites that host free and paid files:
- MyMiniFactory
- Cults3D
- Thingiverse (all free)
- Gambody (specialized in video game/comic book models)
- Pinshape
And here are some articles I’ve written that round-up the coolest files across other websites:
- Dungeons and Dragons 3D print files
- Warhammer 40K 3D prints
- 3D printed figurine files
- 3D printed anime figure files
- 3D printed dice towers
- 3D printed dragon files
Is it legal to 3D print Warhammer models?
It is legal to 3D print Warhammer figures as long as you do not try to sell them or use them for any other kind of commercial use. Patent laws prevent anyone from selling any object based on someone else’s intellectual property. If you design the model yourself however, if it isn’t identical or a total imitation of another’s copyrighted work, then you aren’t infringing on their copyright or patents.
However, keep abreast to new changes in laws that affect where creators and IP holders stand legally. For example, the 2021 Appropriations Act changed the way holders of IP and perceived infringers interact. This article is also useful for a general understanding of where you stand with 3D printing and intellectual property.
We would like to conclude this article by reminding readers to be careful, as intellectual property (IP) laws prevents the creation, download or 3D printing of trademarked characters. You can get into trouble if you print a trademarked character such as a Pokémon, with some large companies becoming increasingly studious in pursuing people breaking these laws.

Updates To This Review
We consistently update our rankings with our latest recommendations based on our hands-on 3D printer reviews.
Jan 2024 updates:
- We removed the Elegoo Mars 2 Pro. The Photon M3 and Mars3 have come down in price so far that it no longer makes sense to get the Mars 2 Pro. And overall, we still recommend the Photon M3 over the Mars 3.
Feb 2024 updates:
- We added the Elegoo Neptune 4 Max as our new recommendation for large terrain printing.
- We also added the Photon Mono M5s for premium desktop resin printing.


