

Key Takeaways
- Enclosure: A must-have for printing heat-sensitive materials like ABS and Nylon. It provides a stable thermal environment and reduces noise. Creality’s Official Enclosure is a convenient option.
- BL Touch: A probe that automates bed leveling and saves you time and hassle. AntcLabs’ BL Touch is a reliable and precise choice. Creality also offers a complete kit for the CR-10 V2 and V3.
- Capricorn Tubing: A high-quality PTFE tube that improves filament feeding and reduces clogging and jamming. It also makes the CR-10 flexible filament-ready. Capricorn tubes are made from the best raw materials and have a lubricant coating.
- All-Metal Hot End: A necessary upgrade for printing high-temperature filaments above 250°C. It prevents the stock hot end’s PTFE lining from degrading and releasing toxic fumes. Micro Swiss All Metal Hotend Kit is a drop-in replacement for the CR-10.
A sure sign of a printer’s overall quality is its popularity. Creality’s CR-10 is a perfect example of this – a solid printer that performs well as is.
But, much like the Ender 3, CR-10 upgrades can transform the printer into a far more versatile and tuned machine capable of handling a more comprehensive range of materials and, more importantly, improve the printing experience.
In this guide, we’ll bring you a selection of the best Creality CR-10 printer upgrades, divided into buyable and DIY mods.
From an enclosure to extruder upgrade by way of support rods to stepper dampeners, we cover all aspects of the CR-10 that are ripe for improvement.
Buyable CR-10 Upgrades
Enclosure
- Price: $81.99 — Check on Amazon here
- CR-10 Upgrades Compatibility: CR-10, S, V2, V3
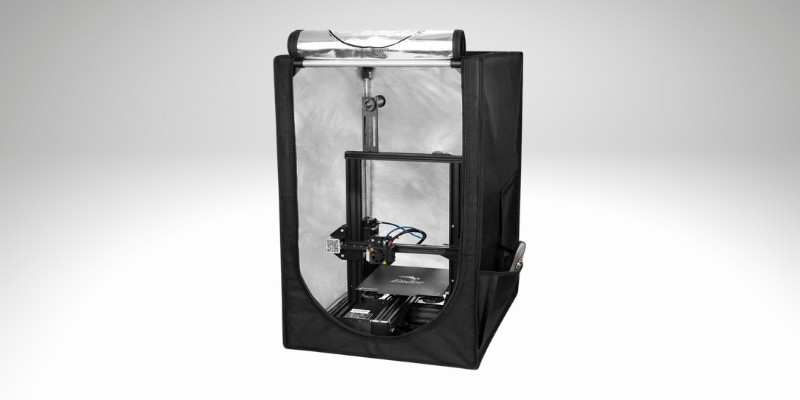
If you plan on printing ABS, Nylon, and other heat-sensitive materials, an enclosure slots in as one of the must-have CR-10 upgrades.
These materials perform poorly with the CR-10’s stock open design, warping, and curling when exposed to drafts and temperature fluctuations. They need a stable thermal environment; an enclosure provides precisely that.
There are several options, but we recommend Creality’s Official Enclosure for convenience. It’s designed to offer more than enough room to house the CR-10 in its entirety.
Additional benefits include easy assembly and storage along with a large monitoring window and multiple velcro and zip openings to access the printer. The enclosure also dampens the noise emitted by the CR-10 when printing.
Automatic Bed Leveling
- Price: $48.00
- CR-10 Upgrades Compatibility: CR-10, S, V2, V3
Manual bed leveling is no fun at the best of times.
The time-consuming task is only magnified with the CR-10 due to its rather generously-sized build volume, which makes keeping the CR-10’s bed level a tough task. Upgrading to automatic bed leveling is a relatively cheap and easy way to save time and hassle.
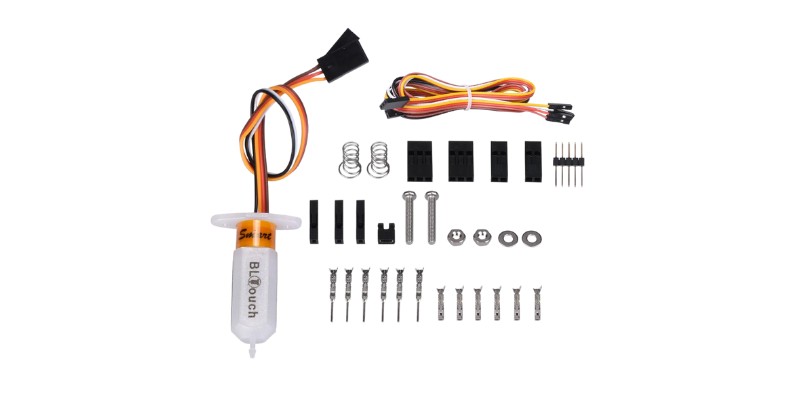
Of all the options out there, AntcLabs’ BL Touch auto bed leveling probe looms over the rest for precision and efficiency.
Creality even offers a complete BL Touch kit for the CR-10 V2 and V3, including the probe, brackets, screws, and wiring, for a reasonable $50.00. For other CR-10 iterations, you can buy directly from Antclabs and refer to one of the many guides available.
Capricorn Tube
- Price: $12.99 — Check on Amazon here
- CR-10 Upgrades Compatibility: CR-10, S, V2, V3
Sprucing up your printer with a factory-fresh length of Capricorn tubing is one of the best and most cost-effective CR-10 upgrades.
The standard PTFE tubing on the CR-10 can cause all manner of clogging and jamming issues along with rougher, less detailed prints, especially with more malleable materials.
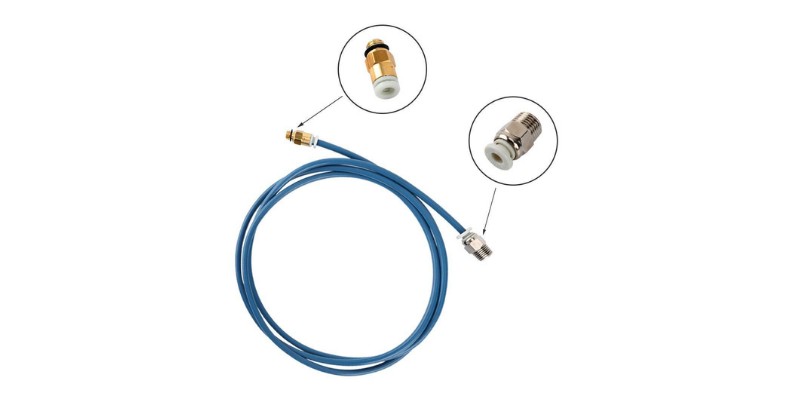
Capricorn tubing’s tighter pathway ensures the filament is fed cleanly and smoothly to the hot end, contributing massively towards making the CR-10 flexible filament-ready.
Though there are third-party options, we recommend going straight to the source and buying genuine Capricorn tubes.
These are made to the strictest quality standard from only the best raw materials and are lined with anti-friction lubricant, but shouldn’t cost you more than $12.99 for a one-meter kit with fittings included.
All-Metal Hot End
- Price: $63.50 — Check on Amazon here
- CR-10 Upgrades Compatibility: CR-10, S, V2, V3
If you’re planning to up the celsius count on your hot end to print high-temperature filament, a hot end upgrade is a must-have.
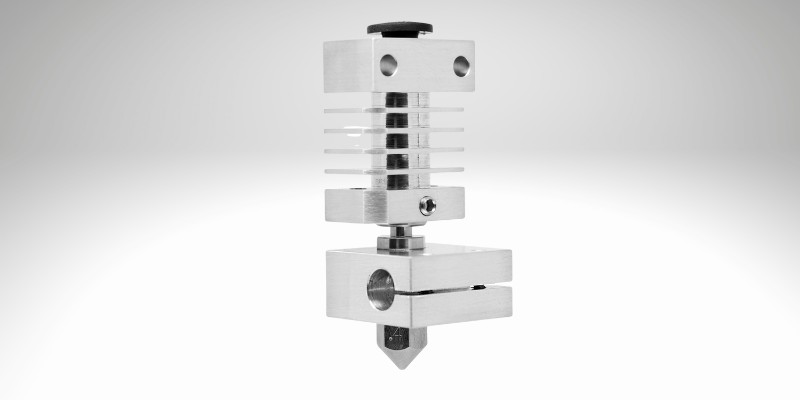
Reach beyond 250°C, and the stock hot end’s cooling block PTFE lining will likely degrade, releasing toxic fumes and ruining prints. An all-metal hot end is a quick and easy way to avoid the problem and open the door to more exotic filament printing.
The Micro Swiss Grade 5 Titanium Alloy All Metal Hotend Kit for Creality CR-10 is purpose-designed as a drop-in kit for the CR-10 in all its guises, meaning no modifications.
It also reuses the existing screws and mounts for even easier installation.
Other viable options include hot ends like E3D’s excellent V6, though this CR-10 mod is more involved than the Micro Swiss as you’ll need additional hardware and mounts.
Creality CR-10 Extruder Upgrade
- Price: $83.00 — Check on Amazon here
- CR-10 Upgrades Compatibility: CR-10, S
The extruder on the original CR-10 and CR-10S is serviceable for filaments like PLA and ABS but tends to tail off in performance for more flexible filament types, a symptom of Bowden systems.
You’ll want to upgrade to an all-metal extruder to mitigate the problem. Doing so largely eliminates jamming and tangling issues.
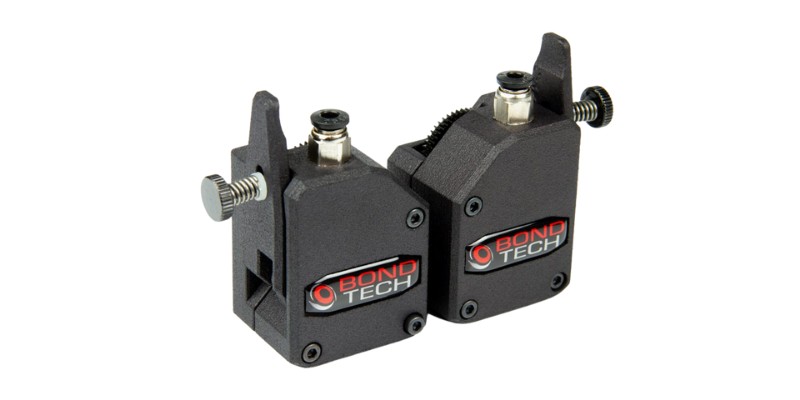
The Bondtech BMG Extruder is our top choice with a proven track record of excellent build quality and reliability.
It features dual-drive gears, which do wonders for filament grip, even with slippery Nylon, and it plays nice with the CR-10’s Bowden system while also offering everything you need to shift to a direct drive system if you want to.
CR-10 E3D Titan Extruder Upgrade
- Price: $40.00 — Check on Amazon
- CR-10 Upgrades Compatibility: CR-10 V2, V3

The CR-10 V2 and V3’s extruder is a major upgrade over previous models, but can also benefit from a targeted upgrade.
We recommend going straight for the best in the business, and installing an E3D Titan extruder, especially if you want to use flexible filaments.
It features a 3:1 gearing ratio and individually-shaped sharp hobb teeth to ensure superb filament grip and feeding to the hot end along with excellent retraction.
Alongside, it’s lightweight and can be mounted as part of the CR-10’s existing system as a Bowden extruder, or as the centerpiece for an upgrade to a direct drive system.
CR-10 Nozzle Upgrade
- Price: $5.00-$25.00 — Check on Amazon here
- CR-10 Upgrades Compatibility: CR-10, S, V2, V3

If you’ve upgraded the hot end, you’ll likely already have a considerably better nozzle than what’s shipped on the CR-10.
If not, you may want to consider swapping out the stock brass nozzle for a tougher, more reliable nozzle, especially if you’re hoping to print coarser, abrasive material like carbon fiber and metal-fill regularly.
It will tear through brass like butter.
E3D V6 nozzles come highly recommended and are available in plated copper, hardened steel, nozzle X (a unique high-hardness, high-temperature jack-of-all-trades nozzle with superb flow response), stainless steel, and reinforced brass variants.
As with all E3D products, durability is baked into each nozzle, and fitting one to your CR-10 requires no modifications.
They do command a higher price than other manufacturers, though this is entirely justified given they’ll serve you for years to come and will produce consistent results throughout that time.
CR-10 Dual Extruder Mod
- Price: $100.00-$200.00
- CR-10 Upgrades Compatibility: CR-10, S, V2, V3
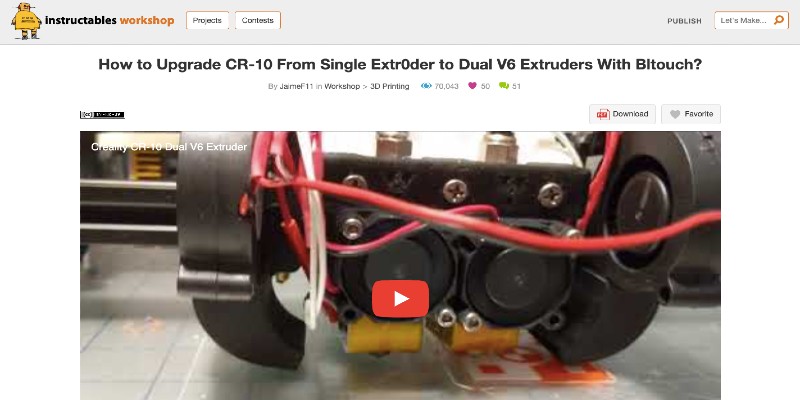
While installing a CR-10 dual extruder mod is nothing short of a major undertaking, not to say a pricey one, it’s certainly doable.
The benefits: dual color printing, dual filament printing, and soluble supports.
To complete the project, you’ll need not just a second extruder and all the associated parts but a new mainboard, a more powerful power supply, and stepper motors.
As with most upgrades, Instructable swoops in with a detailed guide to help. As maker JaimeF11 explains, experience with electronics is a must as the capacity to troubleshoot potential.
You can find the guide here.
XY Stepper Dampeners
- Price: $5.00-$10.00
- CR-10 Upgrades Compatibility: CR-10, S, V2, V3
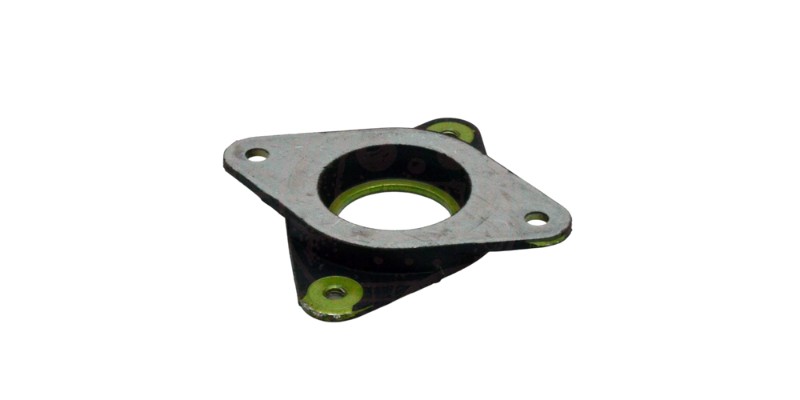
There’s no escaping the fact that 3D printers are loud.
The CR-10 is no exception, producing a cacophony of whirs, vibrations, and bumps, but there are steps to reduce the decibel output, the top option being X and Y stepper dampeners.
Mounted on the stepper motors, these reduce vibrations and, therefore, noise levels.
Sound dampening mileage does vary depending on the CR-10 model as Creality has fitted the newer models, notably the V variants, with better drivers. For older models, it’s a must-have, though, as the dampeners make the printer much quieter.
Depending on the brand it’s one of the more affordable CR-10 upgrades, setting you back no more than $5 to $10.
We recommend Tiny Machines 3D’s cheap and reliable stepper dampeners.
CR-10 Dual Z Upgrade
- Price: $60.00
- CR-10 Upgrades Compatibility: CR-10
The keen-eyed will notice that all but the original CR-10 features dual z-axis.
When a manufacturer installs a feature as standard for all successor models, it’s a good bet that the upgrade is worth your time if you own a CR-10.
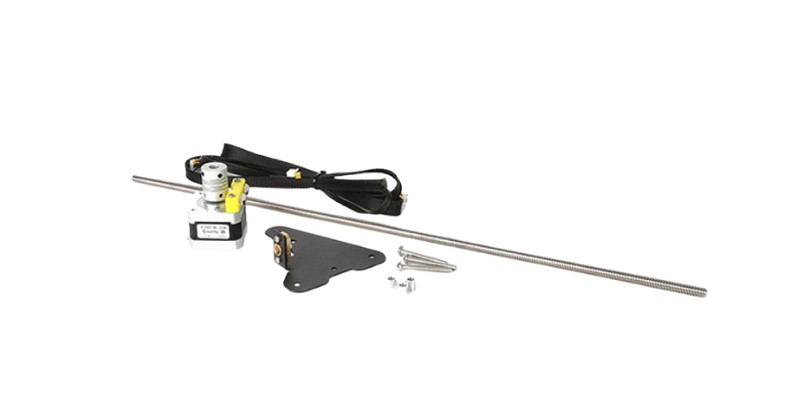
Installing a CR-10 dual Z upgrade helps with x-axis stability issues and hot end assembly-level problems.
Unmanaged, these can affect print quality and make a meal out of leveling the bed correctly. The extra lead screw and stepper motor prevent the X-axis gantry from tilting and leaning and help mitigate CR-10 bed wobble, a problem often caused by poor Z support.
We recommend a CR-10 dual z upgrade kit to save time and frustration.
3D Printers Bay offers a kit that includes direct replacement parts (lead screw, stepper motor, chassis post, belt, and screws) manufactured by Creality.
CR-10 Build Plate Upgrade
- Price: $25.00-$35.00 — Check on Amazon here
- CR-10 Upgrades Compatibility: CR-10, S, V2, V3
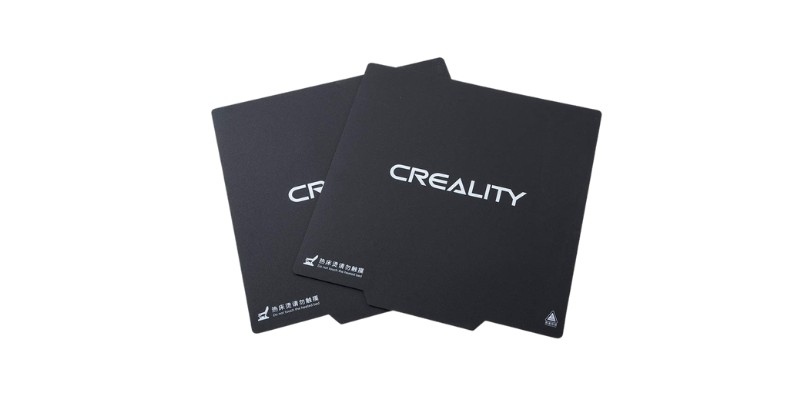
Warping issues are common for CR-10’s stock glass bed. It’s very much a luck of the draw situation, but to avoid layer adhesion and leveling problems, we recommend a CR-10 build plate upgrade.
Creality’s carbon-silicone tempered glass build plate is a popular, affordable option. It features a high microporous coating to improve first layer adhesion and is designed for easy cleaning.
Creality offers an equally popular flexible magnetic PEI build plate if you want easy flex-and-pop print removal. Both match the dimensions of the stock CR-10’s plate, so it’s a like-for-like replacement that allows full use of the entire build volume.
The BuildTak FlexPlate is a solid buy among third-party options. Plates made by Anycubic and Wham Bam are also good picks.
DIY CR-10 Upgrades
Spool Holder
- Price: $5.00-$8.00 for bearing + filament cost
- CR-10 Upgrades Compatibility: CR-10, S, V2, V3
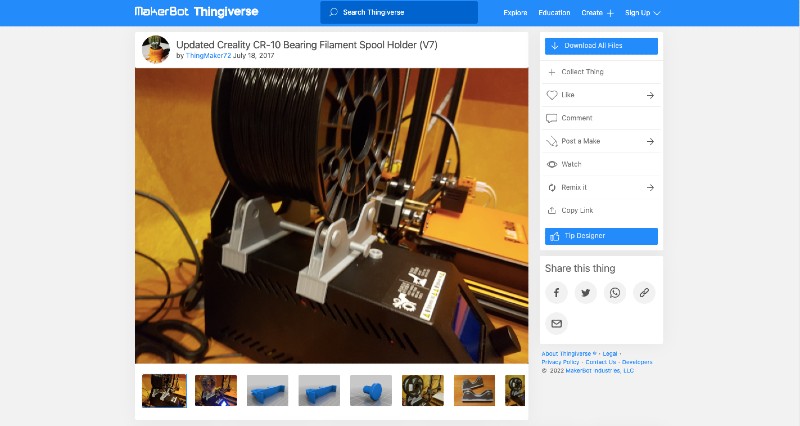
Mounted precariously on the CR-10 control box, the provided spool holder is far from perfect.
The positioning means the extruder has to work double-time to feed filament into the printer, which can cause strain, affecting print quality.
To remedy this, you can print a spool holder upgrade.
Many are available, but we’re partial to ThingMaker 72’s bearing-fitted spool holder. It’s stable, fits comfortably on top of the control box (reducing strain on the gantry for CR-10 models with the holder mounted on the printer itself), and is compatible with all spool sizes.
The bearings allow the spool to rotate smoothly, delivering a regular filament flow to the printer.
Filament Roller Guide
- Price: $3.00-$5.00 for bearing/screw + filament cost
- CR-10 Upgrades Compatibility: CR-10, S, V2, V3
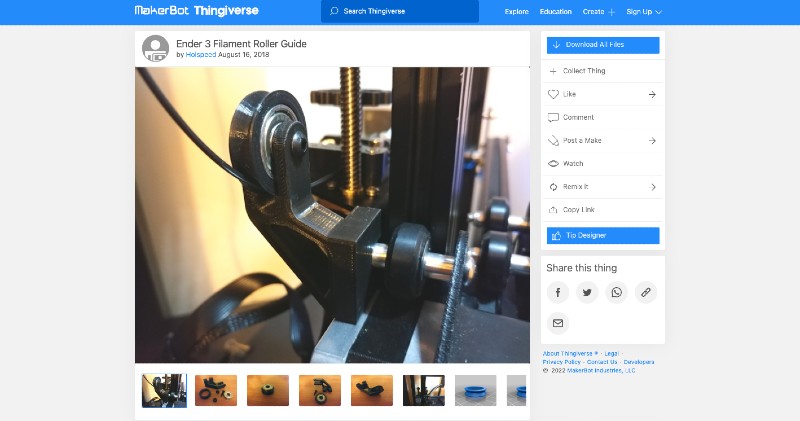
On the stock CR-10, the filament is left to dangle unsupported before it feeds into the extruder, which can lead to grip, tangle, and strain issues as well as wear away at the feeder arm.
A filament roller guide mounted on the printer’s frame just ahead of the extruder offers a smooth, guided path for the filament.
Holspeed’s Thingiverse version combines a bearing with printed parts for frictionless filament guiding.
The design also keeps the filament captive to minimize unwanted movement. The guide requires no modification to CR-10 as friction fit keeps it firmly attached to the Z-axis carriage.
You’ll need to source a bearing and a screw to keep it in place, but the actual mount can be 3D printed, making it one of the cheapest CR-10 upgrades.
Bed Leveling Knobs
- Price: Filament cost
- CR-10 Upgrades Compatibility: CR-10, S, V2, V3
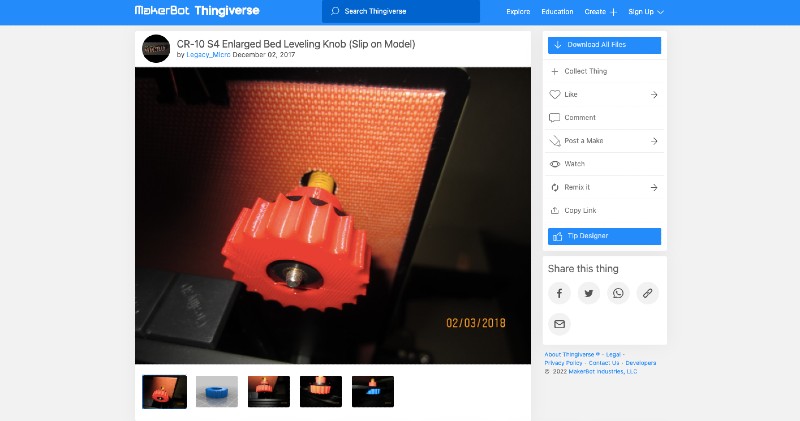
It’s fair to say that Creality missed the mark by shipping the CR-10 and CR-10S with desperately small bed leveling knobs.
They add unnecessary, fiddly hassle to an already frustrating process, so if there’s one upgrade we recommend above all others, it’s printing your own enlarged bed leveling knobs.
If you have a later model, you’re in luck; Creality saw the light and implemented chunkier knobs.
Thingiverse is teeming with designs, so take your pick. We recommend either Legacy Micro or Nerys’ designs.
Both slide onto the existing knobs and can be printed quickly as finish quality isn’t a concern.
In action, they add a level of precision the stock knobs just don’t offer, and you could print them in a unique color to add some flair to your CR-10 upgrades.
Sound Dampening Feet
- Price: $15.00
- CR-10 Upgrades Compatibility: CR-10, S, V2, V3
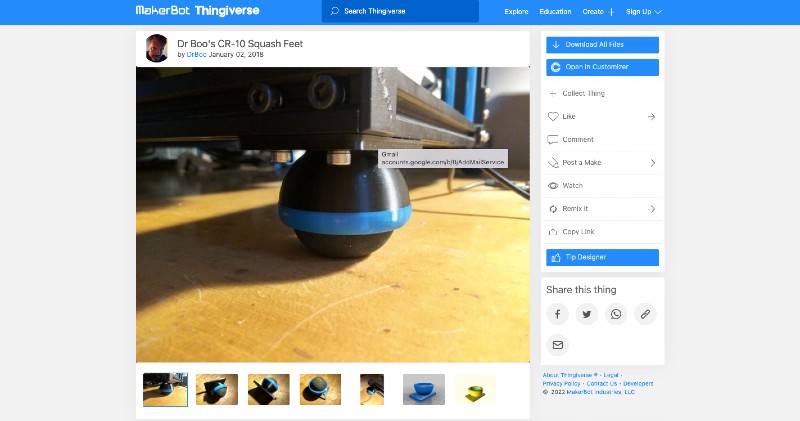
Sound dampening feet help reduce noise and vibration when the CR-10 is printing. And, opt for the right design, and they’ve been known to offer a slight improvement to print quality, reducing movement-related imperfections like ghosting and ringing.
You can print rubber-like feet using flexible filament like TPU, but we found the process much simpler using Thingiverse maker DrBoo’s squash ball feet, which are easier to print and install.
As the name suggests, you’ll need four squash balls (DrBoo recommends the softer yellow-dot balls), a one-piece 3D printed mount, and bolts.
It’s a simple, but effective design that delivers audible noise reduction for all CR-10 models.
Z-Axis Support Rods
- Price: $10.00-$15.00 + filament cost
- CR-10 Upgrades Compatibility: CR-10, S
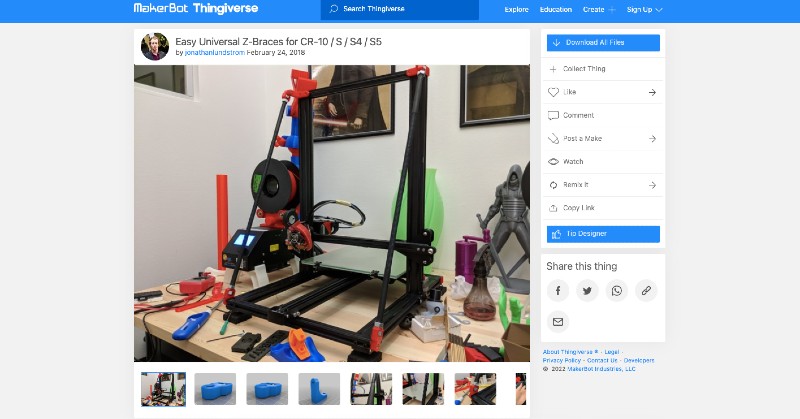
The CR-10 is both a blessing – extra vertical build volume – and a curse as it acts as a conduit for vibrations, affecting the quality of the upper parts of tall prints with issues such as banding and ringing.
We recommend installing a pair of Z-axis support rods to counteract this – the same improvement featured on the CR-10 V2 and V3.
Though you can buy kits priced around $30-$40 specifically for the CR-10, you can turn the upgrade into a DIY project costing quite a bit less by 3D printing the braces and sourcing the hardware/threaded rods from your local hardware store.
jonathanlundstrom’s Thingiverse design provides the STL files and assembly details you’ll need, though others are available.
Cooling Duct
- Price: $20.00-$25.00 + filament cost
- CR-10 Upgrades Compatibility: CR-10, S, V2, V3

Though the stock cooling on the CR-10 does the job well enough, especially when paired with supports and generous infill densities, it tends to tail off as the print complexity increases.
A cooling duct upgrade can mitigate this by delivering a balanced flow of cool air to the extruded filament. Extra benefits include better quality overhands, enhanced inter-layer adhesion, and improved bridging.
Take your pick of the many available designs, but we recommend the Petsfang design and 5051 blower fans.
The mod is professionally engineered to deliver optimal cooling and even comes in various configurations to accommodate different hot ends and extruders, such as the Micro Swiss All-Metal and Bondtech BMD.
Control Box Upgrade
- Price: $5.00-$10.00 for fan(s) + Filament cost
- CR-10 Upgrades Compatibility: CR-10, S, V2, V3
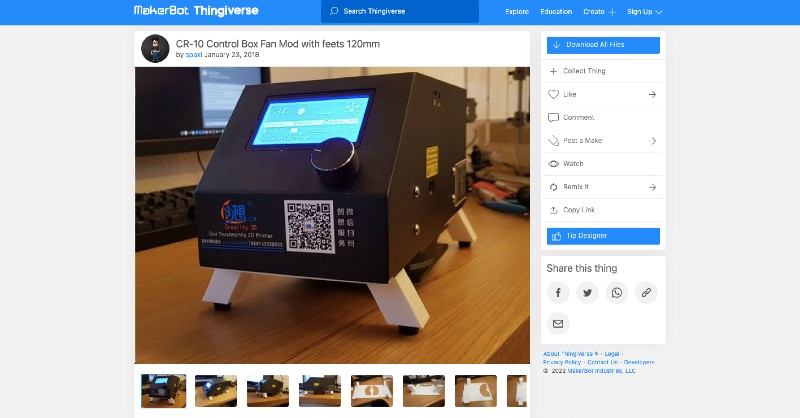
Another excellent CR-10 printer upgrade to tackle noise levels, a control box mod replaces the stock fans in the control box and PSU with much quieter ones, while also elevating the box thanks to 3D printed feet to help airflow.
spaxi and Midevil1 on Thingiverse provide tried and tested designs that other than the purchase of one or two silent fans is entirely 3D printed.
When paired with the other sound dampening upgrades on our list, a control box upgrade transforms the CR-10 into a machine quiet enough you can run 3D prints overnight at home.
Articles we recommend:
- Top 22 Ender 5 Plus upgrades
- The best Ender 5 Pro upgrades
- The Creality CR-10 Smart review
- The best Ender 3 software
- Ender 3 Alternatives


